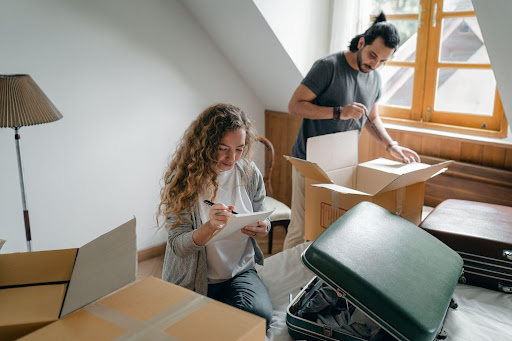
As time goes by, we all accumulate stuff. Clothes we do not wear anymore, old books and magazines, and cute but useless knick-knacks we bought on a whim or received as presents. Sometimes there is so much clutter, we do not even know where to start digging into it.
Or maybe you have just moved into a new rental home and inherited a mess from previous tenants. Luckily, high-end real estate companies like Metropolitan Group, offer premium properties in London, Dubai, Abu-Dhabi and Vienna, also provide cleaning and organization services as part of their package. Those less lucky of us have to take on this endeavour by ourselves.
Once you gather the courage to start, it is important to divide your work into stages. Below, we have outlined the main steps of the decluttering process to make it more straightforward.
1. Clear Out the Space
It can be challenging to grasp the work that needs to be done if there are too many items in a room. You can better examine the situation by clearing the area altogether and starting with a clean canvas.
As clearing out an entire room might be tricky, it’s a good idea to divide it into areas that you can tackle separately. This way, you’ll be able to incorporate decluttering into your daily routine without having to spend one whole day or even several days on it.
So go ahead and dump all the clothes from the wardrobe or take everything out of the pantry. It might seem like you’re making even a bigger mess at first, but it’ll pay out in the long run.
2. Sort and Categorize
The next step is categorizing your possessions. This will help you see what you own in what quantity. For example, you can organize clothing by category, colour, or season. You can divide them into men’s, women’s, and children’s clothes. In the pantry, you can categorize things by type of food first and then sort each type by expiration date.
Put everything in piles to have it ready for the next step. Make sure you have the “to throw out” and “to donate” piles ready as well.
3. Cut Out
Now for the hard part! Some things will be easy to toss, while others will make you doubt your decision. When going through your stuff, think about whether you’ve used it in the past year or if it has particular sentimental significance. Let go of the item if the answers to both questions are no.
Let go of duplicate, outdated, or damaged items. If the item is no longer needed by you but is still usable, give it away to your local charity.
4. Refill the Space
Once you’ve cleared the space, sorted all its contents, and removed all unnecessary things, it’s time to put things back. It’s a good idea to use vacuum-sealed bags, storage bins, organizers, and dividers — this way the results of your decluttering efforts will last longer.
Make sure all frequently used items are placed nearby and easily accessible. To make room for commonly used products, rarely used or seasonal items can be kept in top cabinets or other out-of-the-way places.
Remember that labelling is essential for ensuring you can quickly and easily find what you need. Name each container’s or drawer’s contents, use a label maker, or write on sticky notes. This way, you’ll find it easier to put things away in a proper place after each use.
It also doesn’t hurt to think outside the box: maybe some of the items belong in a different place than they originally were. Remember that for the house to stay tidy and organized, things need to be stored in places where they are used. If you use an item in the living room but its storage place is in the bedroom, there’s little chance you’ll put it properly away every time.
Final Thoughts
Now that all your belongings are in order, your job is to make sure they stay that way and you don’t find yourself looking at another clutter mountain in a week or a month. Return items to their proper places after usage, avoid the temptation of buying unnecessary things, and make sure all people in your house are familiar with the new system.
It’s also important to make sure you’ve made it easy to put things properly away: use open bins instead of stacked ones, install drawer dividers, create clear labels, and colour-code open spaces. This will increase the likelihood of keeping things organized for longer and help you have a tidy home at all times.